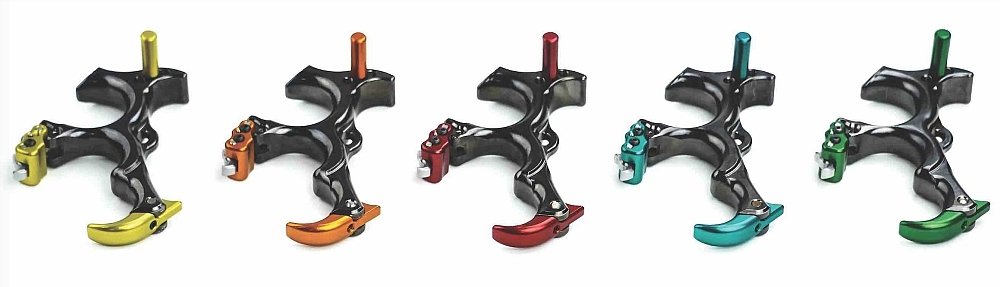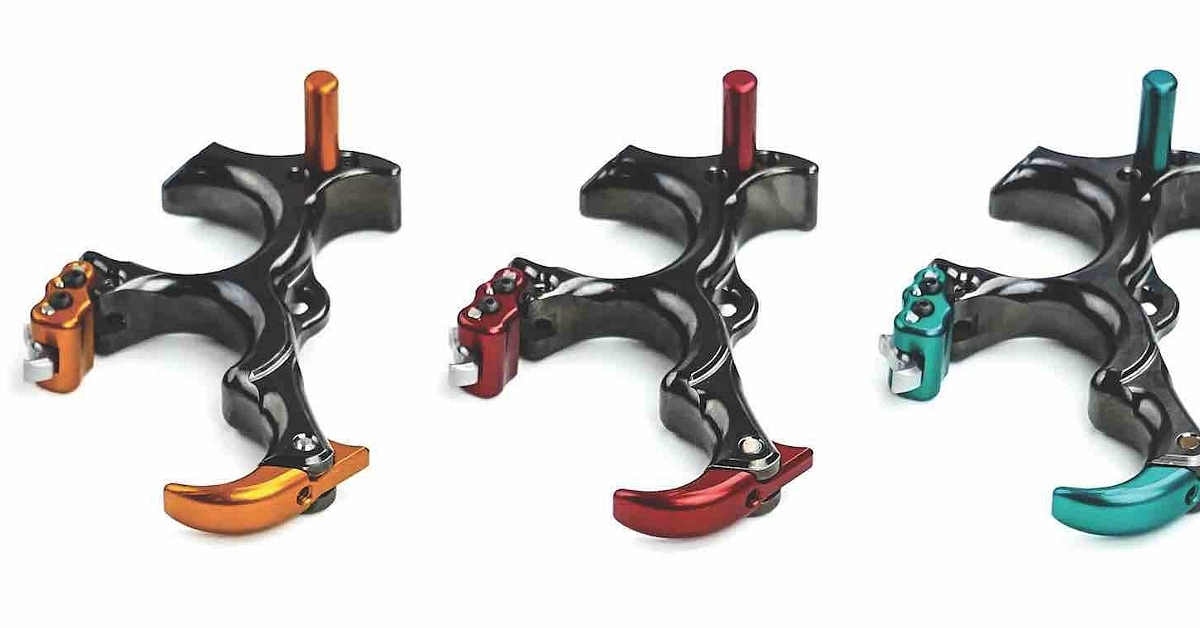
 Before I even pulled the Tru-Fire SEAR from its packaging, it was evident this sleek-looking back-tension release was designed to be a show stopper. My eyes were immediately drawn to the Black Chrome coating and red aluminum finger extension, thumb post and head. Archery pro shop owners, especially in today’s day and age, know the importance of racy-looking accessory items.
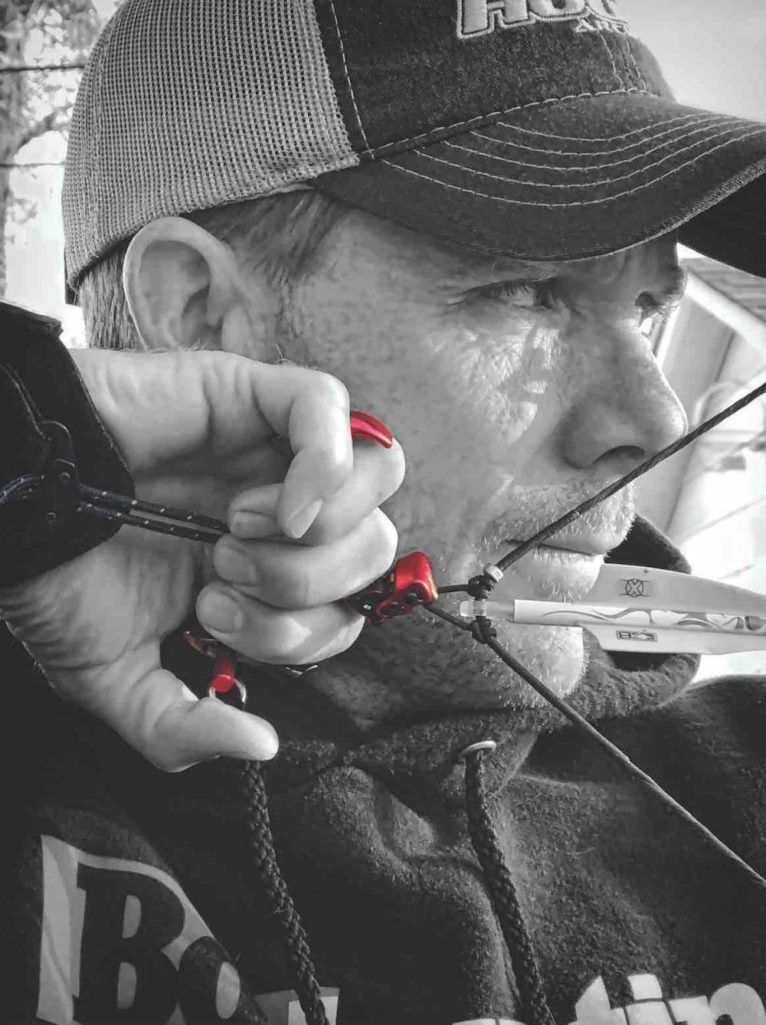
Upon placing the release in my hand, my smile only widened. The heavy brass handle melted into my grip, and the grooves on this three-finger (can be customized to be a four-finger; more on this later) were perfectly recessed and allowed my fingers to sink in and get a good hold. Being able to repeat your grip perfectly each time is a big key to repeatable accuracy. I would highly recommend having a SEAR out and ready in your shop so prospective customers can try it on the range. A few shots with this beauty should seal the deal.
Tru-Fire SEAR Customization
The SEAR is loaded with purposeful customization, so my first mission was to set the click. Personally, I prefer a click-style back-tension; not for helping anticipate the shot, but rather I use the click as part of my shot routine. Timing plays a huge role when it comes to shot-to-shot consistency with a back-tension. I like to hit my click right as I’m crawling into my anchor.
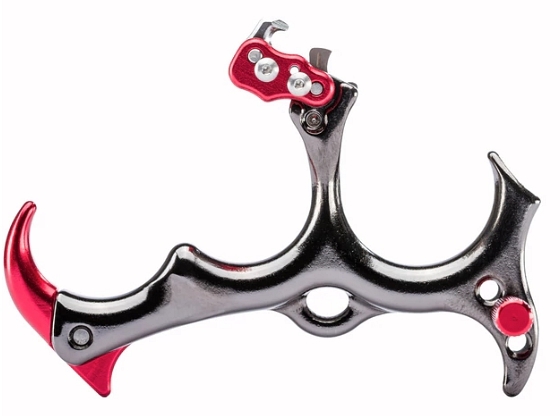 The cool thing about the Tru-Fire SEAR is it offers four click settings. By loosening a pair of set screws on each side of the shank just below the head and then removing a small dowel pin from the head itself, the four-sided SEAR will spin freely. The dowel pin is held in place by a small button screw that needs to be removed so the dowel pin will fall out. Now you can rotate the SEAR to one of four click options (short click, medium click, long click and no click). Just know that the SEAR rides on the hidden-by-the-head click function. For instance, if you rotate the SEAR to the number III click function, you’re actually riding on the number II (medium-length) click setting. If you rotate the Tru-Fire SEAR so that the number I is showing, you’re riding on the no-click setting. I love the simplicity.
 As for adjusting the hot/cold nature of the release, take note of the “HOT” labeled arrow on the release’s head. The arrow is pointing clockwise, meaning that after loosening the same pair of set screws on each side of the shank but leaving the dowel pin in place, one can manipulate the sear clockwise for a hotter setting and counter-clockwise for a colder setting. I recommend starting cold and making micro-adjustments until you find the exact setting that works for you. It takes very, very little finger pressure to make the release hotter or colder.
If you would like to make the release a four-finger, simply remove the set screw from the back of the three-finger attachment. After removing the set screw, the dowel pin will fall out. Now, simply take the four-finger attachment, set it into the handle, reinsert the dowel pin and snug down the set screw. The fourth-finger attachment also allows 45-degrees of adjustability, which is defined by the set screws that are in the attachment itself. The thumb post can be removed and placed in a pair of other settings, or for left-handers, be removed and added to a trio of pre-drilled holes on the release’s opposite side.
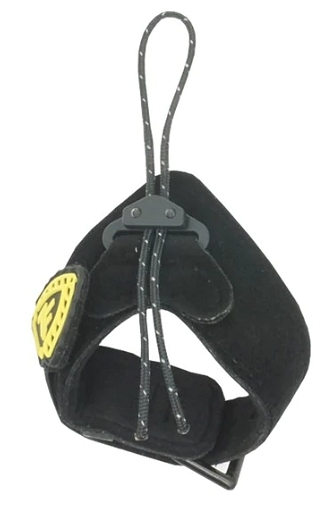 After playing with the release for a bit and learning its many customizable functions, I attached it to Tru-Fire’s Wrist Assist (right). I plan to hunt with the release, and the added brass loop on the backside of the handle allows for the addition of a nylon cord, which attaches easily to the Wrist-Assist via the manipulation of a pair of set screws located in the Wrist Assist. It’s a great option, and for those who like the feel of a release hanging from their wrist, I highly recommend it.
Tinkering with the different click SEAR settings, I found the shortest click, which is with the number II on the SEAR showing, to be the best option for me. As for my hot/cold setting, I found what I would dub a happy medium and have been shooting lights out. This release is crisp, weighted perfectly and breaks over flawlessly. My average anchor-to-fire time is 5.34 seconds, which is right in the money spot for me. It feels great in the hand, and is the type of release that builds shooting confidence. My groups are tight and my downrange accuracy is better than ever.
If your customers are in the market for a new release and have always wanted to give a back-tension a go, then the Tru-Fire SEAR would be a great choice.